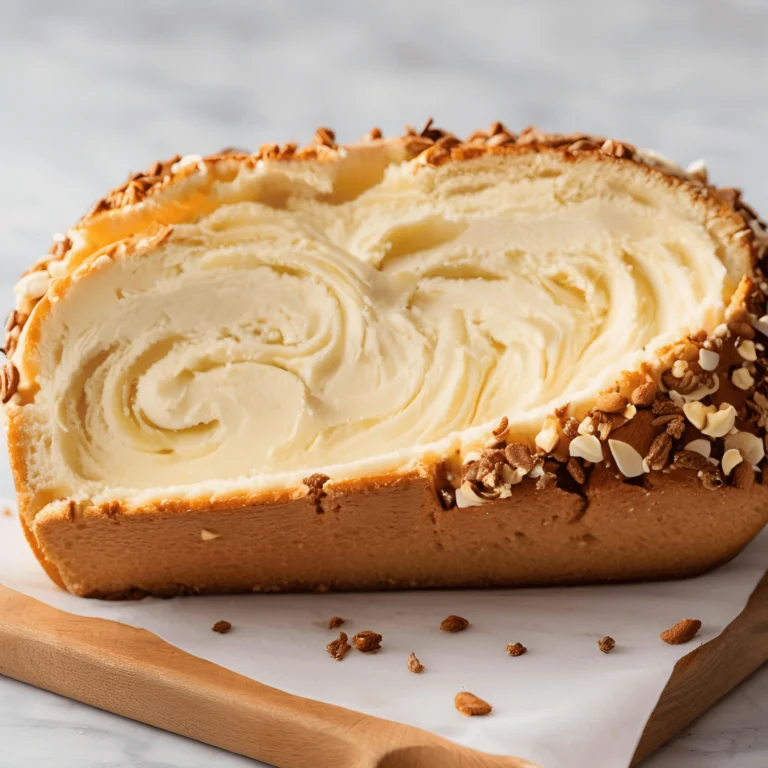
How to Make Heavy Cream at Home in 3 Easy Ways
Table of Contents
You’re halfway through baking a luscious chocolate cake or whipping up a creamy pasta sauce when you realize… you’re out of heavy cream. Cue the panic! But what if you could skip the grocery run and make your own heavy cream at home in minutes? Whether you’re dairy-free, vegan, or just craving kitchen convenience, learning how to craft heavy cream from scratch is a game-changer.
In this guide, you’ll discover 3 foolproof methods to create rich, velvety heavy cream using everyday ingredients like butter, milk, coconut milk, or even cashews. No fancy tools or hard-to-find items required! We’ll cover everything from whipping up a dairy-based version for classic desserts to crafting silky vegan alternatives perfect for soups, sauces, and keto-friendly treats. Plus, you’ll learn how to store your homemade cream and revive it if it separates.
Say goodbye to last-minute store trips and hello to pantry-powered creativity. Let’s dive in and turn your kitchen into a heavy cream factory!
Why Make Heavy Cream at Home?
Save Money and Avoid Store Runs
Heavy cream is a kitchen staple, but constantly buying small cartons can drain your wallet—especially if you only need a splash for a recipe. A 16-ounce store-bought heavy cream costs around 3–3–5**, but with DIY methods, you can make the same amount for half the price using ingredients you likely already have, like butter, milk, or coconut milk. For example, mixing melted butter and milk costs roughly 1.50 per cup**, while a non-dairy coconut cream alternative runs about **1.50percup∗∗,whileanon−dairycoconutcreamalternativerunsabout∗∗2 per cup. Over time, those savings add up!
Avoiding last-minute store trips is another perk. Imagine it’s 9 PM, and you’re baking cookies only to find your cream has expired. Instead of rushing to the store (or abandoning your recipe), whip up a batch in 5 minutes with pantry staples. This hack is a lifesaver for:
- Rural living (no nearby grocery stores),
- Busy parents (no time for extra errands),
- Late-night bakers (because cravings wait for no one).
Pro Tip: Keep shelf-stable substitutes like coconut milk or powdered milk on hand for emergencies. You’ll never waste gas or impulse-buy snacks “while you’re there” again!
Control Ingredients (Dairy-Free, Vegan, Keto-Friendly Options)
Store-bought heavy cream often contains additives like carrageenan or preservatives to extend shelf life, which might clash with dietary preferences or restrictions. When you make heavy cream at home, you decide what goes into it—whether you’re avoiding dairy, prioritizing whole foods, or tailoring recipes to specific diets.
Customize for Dietary Needs
- Dairy-Free & Vegan: Swap butter and milk with coconut milk, cashews, or oat cream for a plant-based alternative. Perfect for vegan desserts like chocolate mousse or dairy-free alfredo sauce.
- Keto-Friendly: Use full-fat coconut milk or blend heavy cream substitutes with MCT oil to boost fat content without added carbs. Ideal for keto soups or fat bombs.
- Allergen-Friendly: Skip lactose or nuts (e.g., cashews) by using sunflower seed cream or soy milk thickened with cornstarch.
Avoid Unwanted Additives
Commercial creams may include stabilizers or sweeteners. Homemade versions let you skip these and use clean, recognizable ingredients. For example:
- Non-dairy cream: Coconut milk + tapioca starch (no gums).
- Dairy cream: Grass-fed butter + organic milk (no synthetic thickeners).
Tailor Fat Content & Flavor
- Need extra-rich cream for whipped toppings? Add a splash of powdered sugar or vanilla to your DIY base.
- Prefer lighter cream for coffee? Thin coconut milk with water.
Reduce Food Waste with Customizable Quantities
Store-bought heavy cream often comes in large cartons, but what happens when a recipe calls for just a tablespoon or two? Leftover cream languishes in the fridge, only to be tossed when it expires. By making heavy cream at home, you control the batch size, crafting exactly what you need—no more, no less.
Small Batches, Big Impact
- Need ¼ cup for a sauce? Whip up a tiny batch using 1 tbsp butter + 2 tbsp milk.
- Craving whipped cream for two? Blend ½ cup coconut milk instead of cracking open a new carton.
- Avoid buying specialty creams (e.g., ultra-pasteurized) for single-use recipes, which often end up wasted.
Repurpose Leftover Ingredients
Homemade methods let you use pantry staples creatively:
- Turn half-used coconut milk into non-dairy cream for tomorrow’s coffee.
- Transform leftover cashew paste (from vegan cheesecake) into a creamy soup thickener.
Extend Freshness
While store-bought cream lasts 1–2 weeks, homemade versions can be made fresh on demand. For example:
- Dairy-based cream: Mix butter + milk in 5 minutes (use immediately or refrigerate for 2 days).
- Vegan cream: Soak cashews overnight only when needed.
3 Simple Methods to Make Heavy Cream
Method 1: Dairy-Based Cream (Butter + Whole Milk)
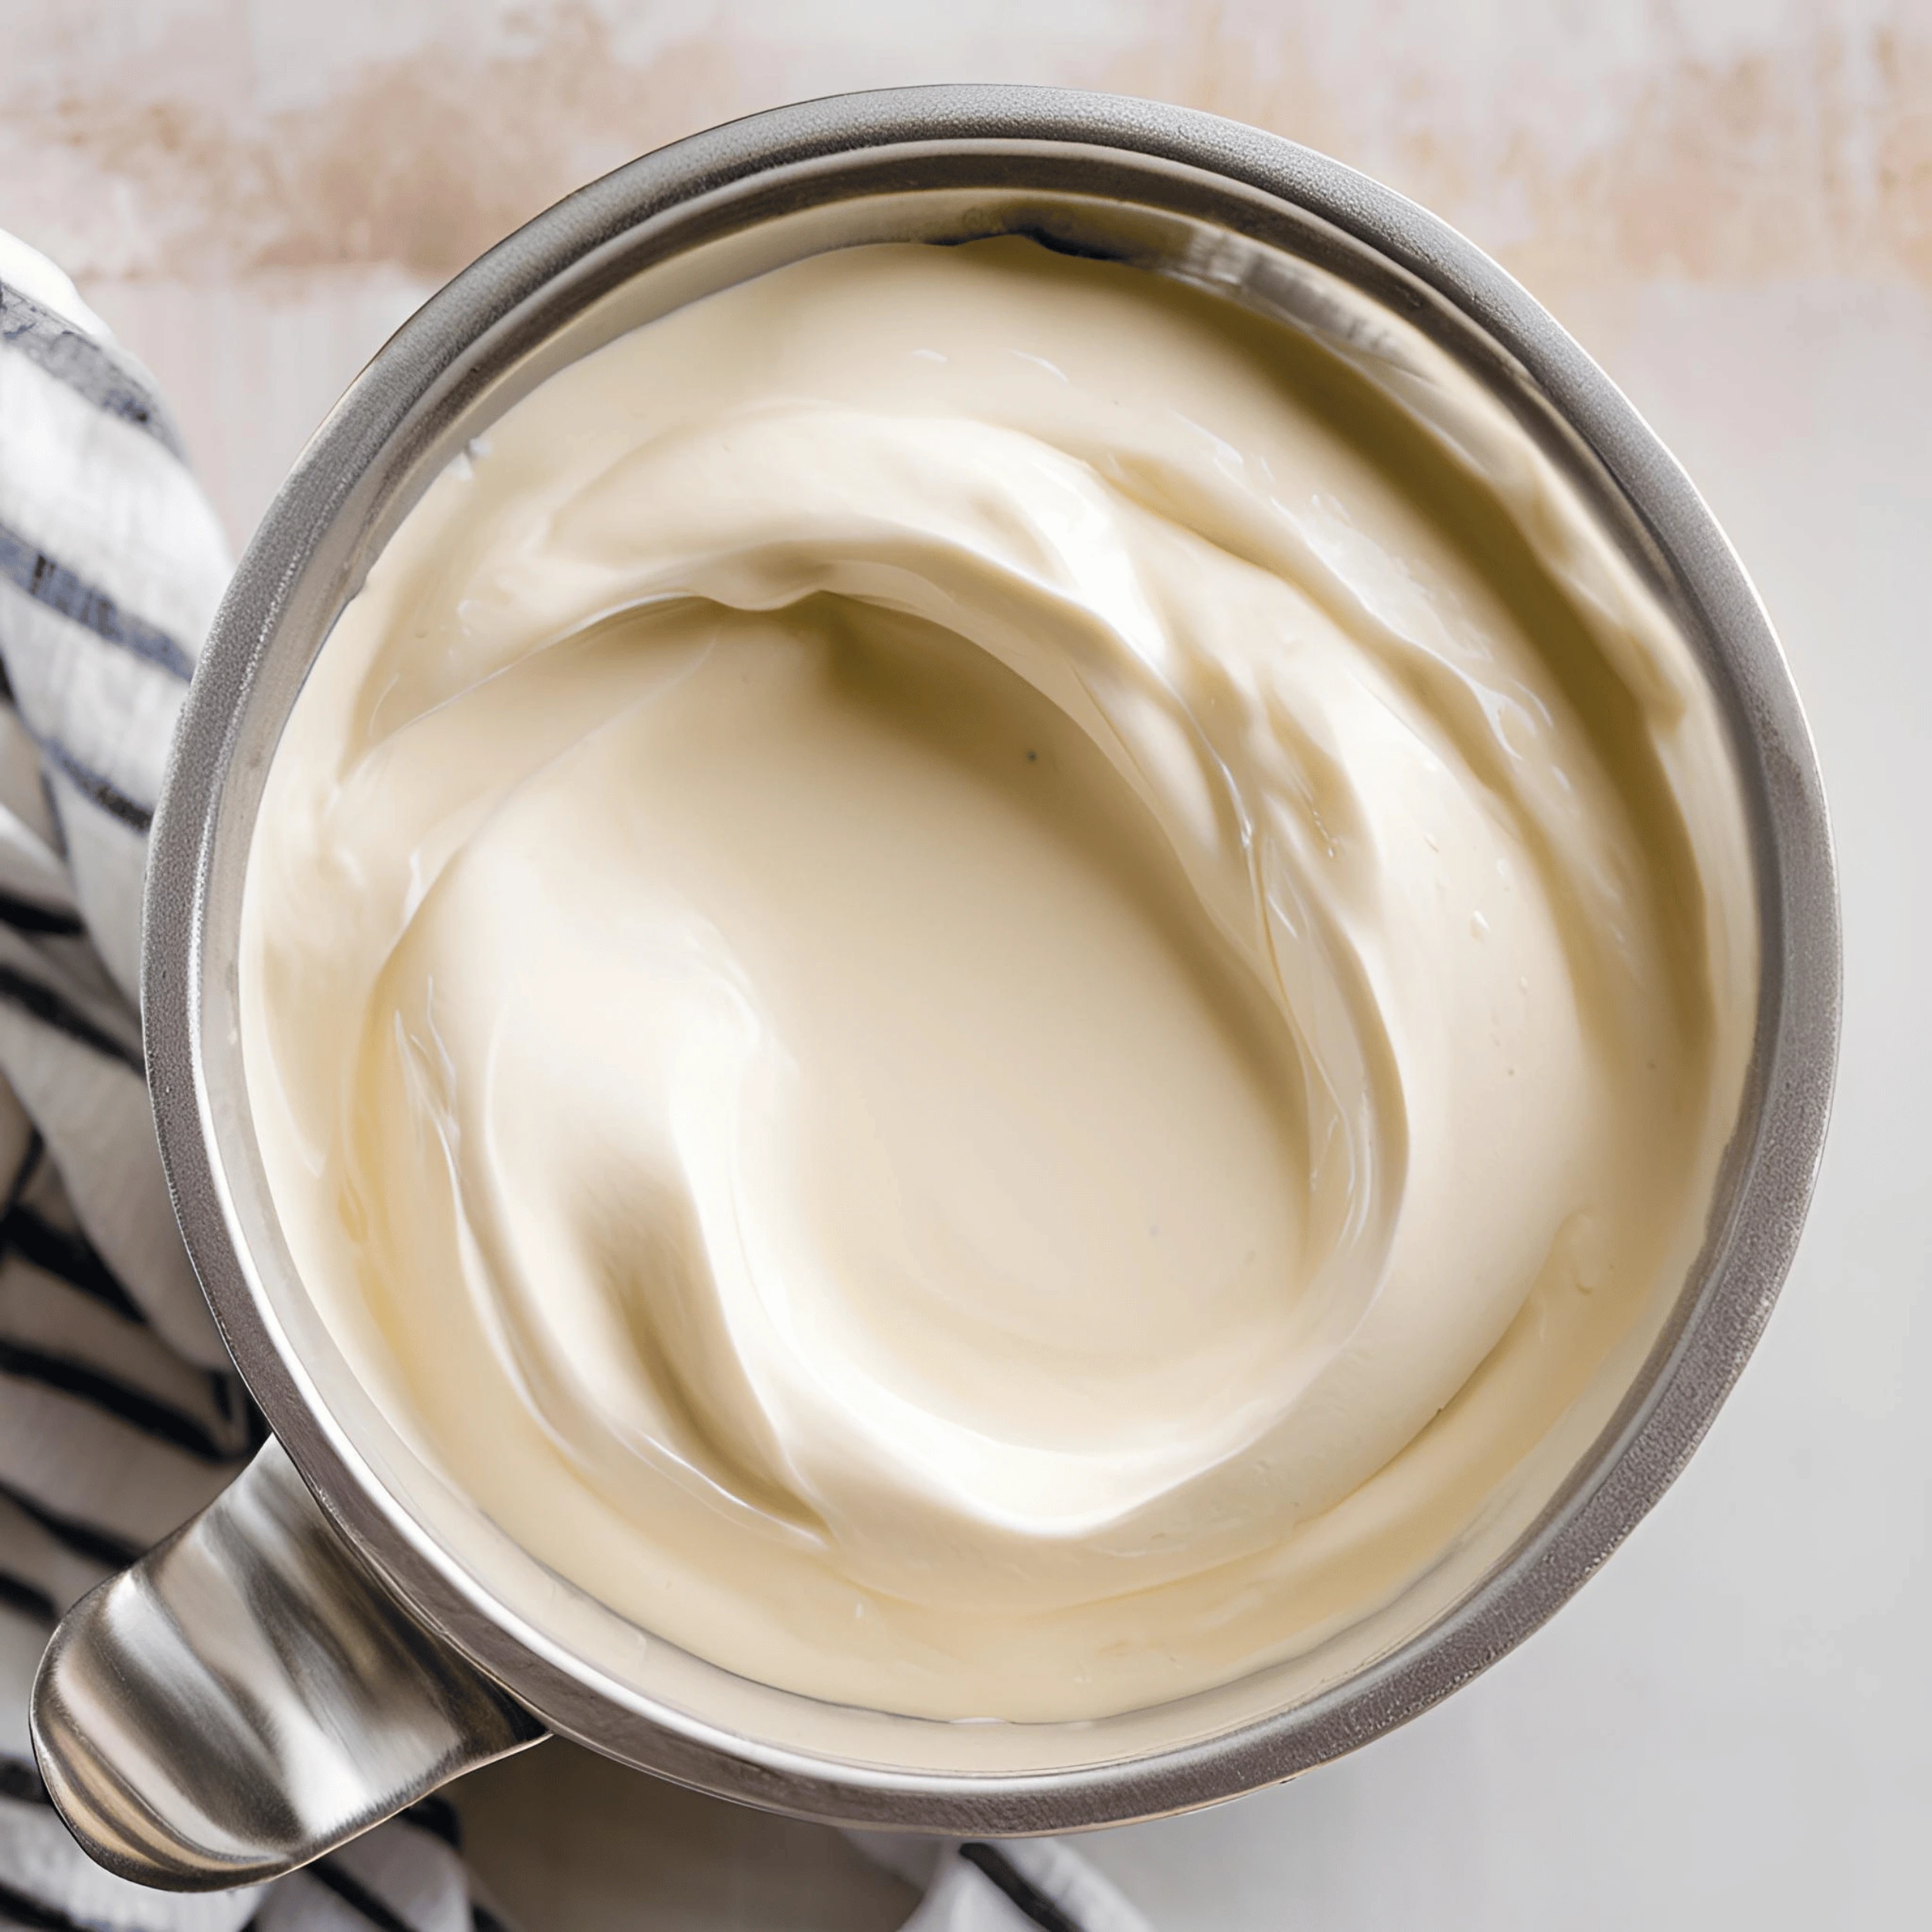
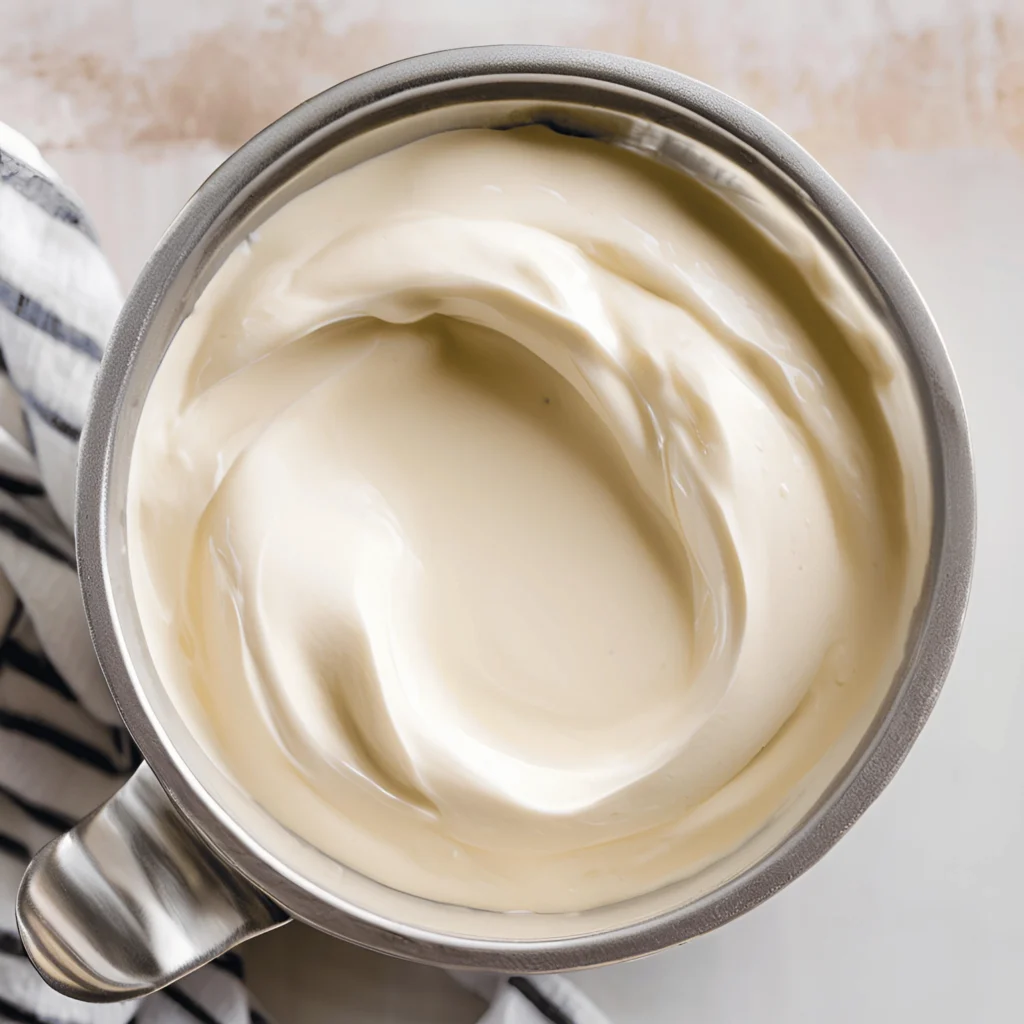
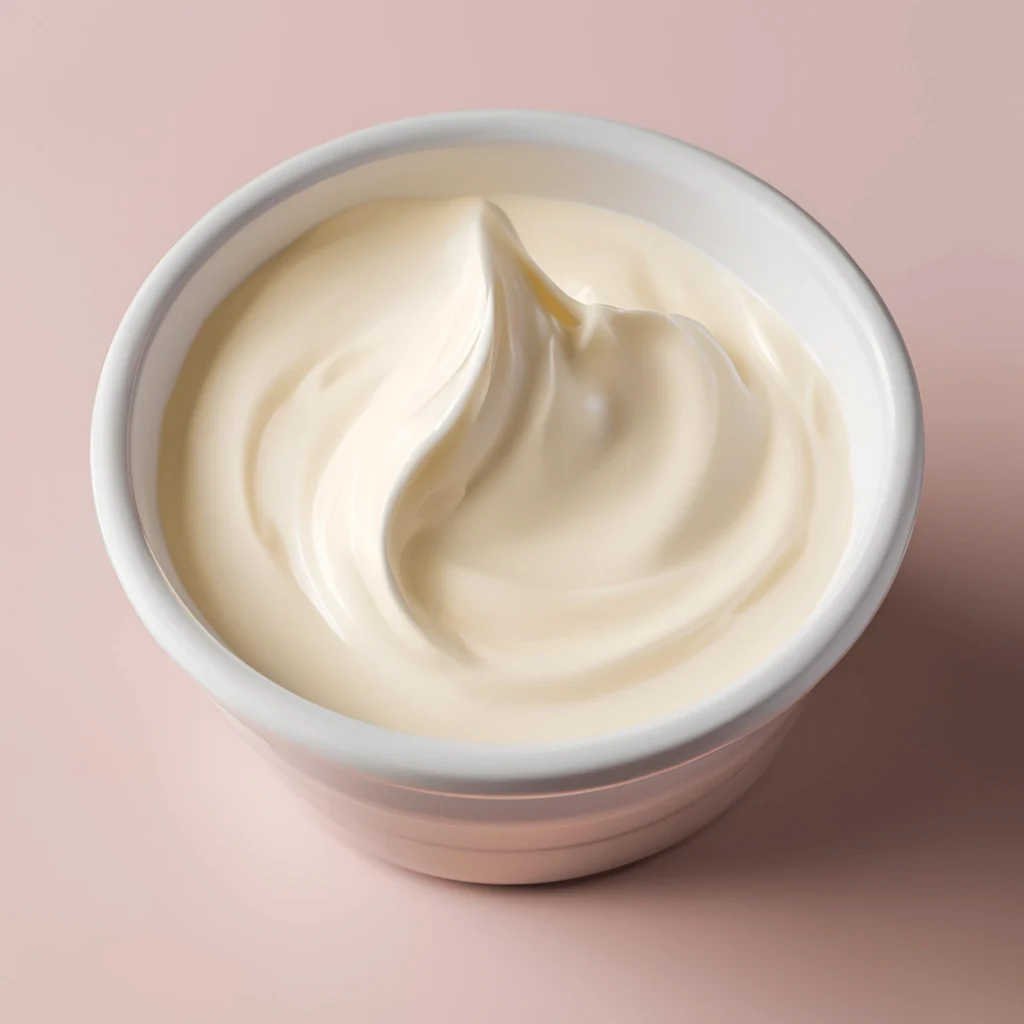
This classic DIY heavy cream method is perfect for traditional recipes that rely on rich, creamy textures—think soups, sauces, or desserts like crème brûlée. By blending butter and whole milk, you recreate the 36–40% fat content of store-bought heavy cream, ensuring your dishes stay luxuriously smooth.
Ingredients & Tools
- Butter: Unsalted, high-fat (82% fat or higher) works best.
- Whole Milk: Avoid low-fat options—the fat is key!
- Tools: Mixing bowl, whisk or fork, microwave or stove (to melt butter).
Step-by-Step Instructions
- Melt the Butter: Gently heat ⅓ cup (75g) of butter until liquid (microwave in 10-second bursts or use a saucepan).
- Combine with Milk: Pour melted butter into ¾ cup (180ml) of whole milk.
- Emulsify: Whisk vigorously for 1–2 minutes until fully blended and slightly thickened.
- Chill (Optional): For better whipping, refrigerate for 20–30 minutes before using.
Tips for Success
- Fat Matters: Use full-fat dairy—skim milk won’t mimic heavy cream’s richness.
- Fix Separation: If the mixture splits, reheat gently and whisk again.
- Adjust Thickness: Add 1 tsp cornstarch slurry (for sauces) or powdered sugar (for desserts).
Best Uses
- Whipped Cream: Chill thoroughly and whip with 1 tbsp sugar.
- Creamy Pasta Sauces: Adds silkiness to carbonara or Alfredo.
- Baking: Ideal for scones, custards, or quiches.
Method 2: Non-Dairy Cream (Coconut Milk + Cornstarch)
Perfect for vegan, lactose-intolerant, or dairy-free diets, this plant-based heavy cream alternative uses coconut milk and cornstarch to mimic the thickness and richness of traditional cream. It’s ideal for savory dishes like curries or dairy-free desserts—without the coconut flavor overpowering your recipe (if you use refined coconut milk).
Ingredients & Tools
- Full-Fat Coconut Milk: Canned, unsweetened (shake well before opening!).
- Cornstarch: For thickening (substitute with arrowroot or tapioca starch).
- Tools: Blender, small saucepan, whisk.
Step-by-Step Instructions
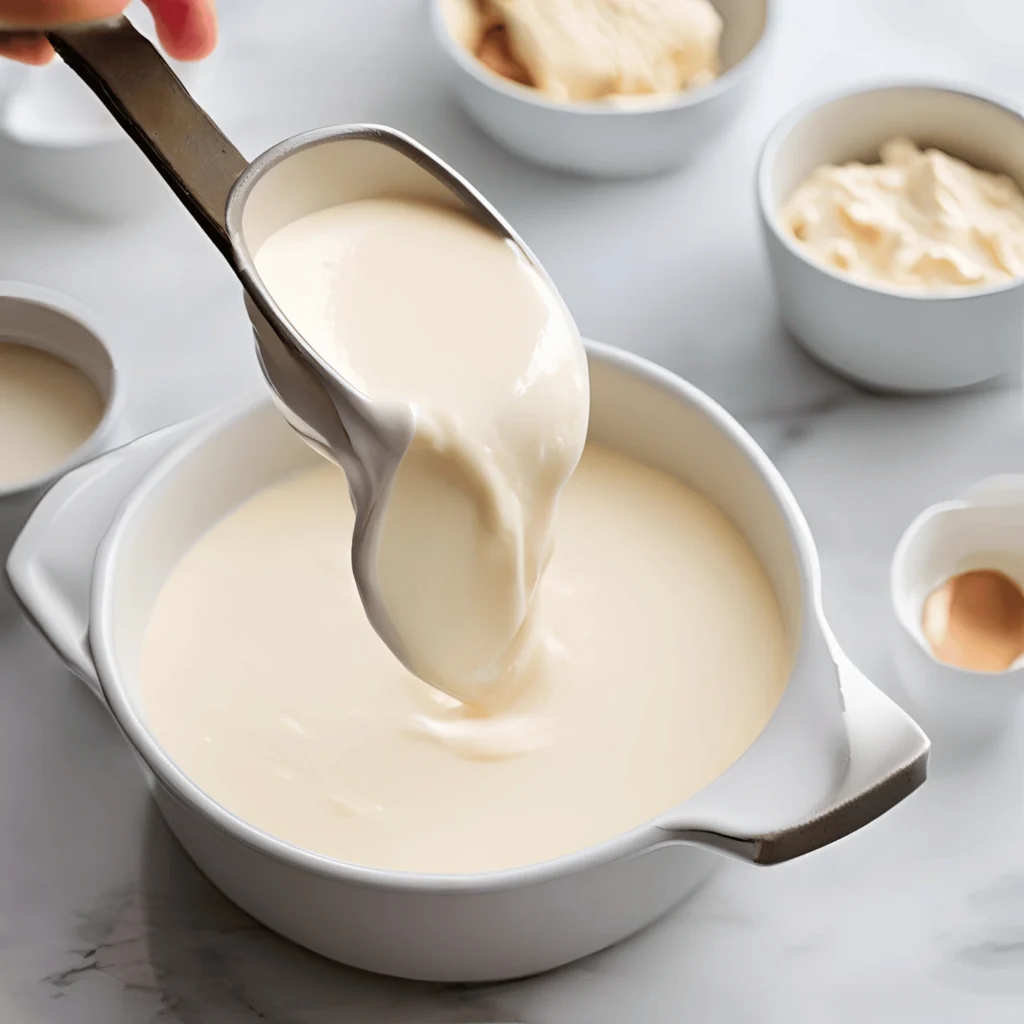
- Mix Base: Combine 1 cup (240ml) coconut milk with 1 tbsp cornstarch in a blender.
- Heat Gently: Pour the mixture into a saucepan. Warm over medium heat, stirring constantly, until it thickens (2–3 minutes).
- Cool & Use: Let it cool to room temperature. For a smoother texture, blend again before using.
Tips for Success
- No Coconut Flavor? Use refined coconut milk (less coconut taste) or add ½ tsp vanilla extract for desserts.
- Avoid Lumps: Whisk cornstarch with 1 tbsp cold water first to create a slurry before blending.
- Thicker Cream: Increase cornstarch to 1.5 tbsp for recipes like custard or ganache.
- Storage: Keep in an airtight jar for 3–4 days (may separate—just re-blend!).
Best Uses
- Dairy-Free Sauces: Adds creaminess to vegan alfredo or mushroom gravy.
- Soups & Curries: Perfect for Thai coconut curry or creamy tomato bisque.
- Vegan Baking: Use in cakes, pies, or dairy-free ice cream.
Method 3: Vegan Heavy Cream (Cashews + Water)
For a luxuriously creamy, nut-based heavy cream that’s 100% plant-powered, this cashew cream method is a vegan kitchen staple. Soaked cashews blend into a velvety, neutral-flavored cream perfect for sweet and savory recipes—without the coconut taste. Plus, it’s gluten-free, soy-free, and packed with healthy fats!
Ingredients & Tools
- Raw Cashews: Unsalted and unroasted (soaking softens them).
- Water: Adjust for desired thickness.
- Optional Add-ins: Nutritional yeast (for savory dishes), vanilla, or maple syrup (for desserts).
- Tools: High-speed blender, strainer (if using non-high-speed blender), bowl for soaking.
Step-by-Step Instructions
- Soak Cashews: Cover 1 cup (150g) raw cashews in boiling water for 20 minutes (or overnight in cold water).
- Drain & Blend: Drain cashews, then blend with ½ cup (120ml) fresh water until completely smooth (2–3 minutes).
- Adjust Consistency: Add 1–2 tbsp water for thinner cream (sauces) or reduce water for thicker cream (whipped toppings).
Tips for Success
- No High-Speed Blender? Soak cashews overnight or boil for 15 minutes to soften. Strain after blending for ultra-smooth texture.
- Fix Graininess: Blend longer (5+ minutes) or strain through a nut milk bag.
- Boost Flavor:
- Savory: Add 1 tbsp lemon juice + ¼ tsp garlic powder.
- Sweet: Mix in 1 tsp vanilla + 1 tbsp maple syrup.
Best Uses
- Vgan Alfredo: Toss with pasta, garlic, and nutritional yeast.
- Dairy-Free Desserts: Cheesecakes, chocolate mousse, or whipped toppings.
- Creamy Soups: Adds richness to potato leek or butternut squash soup.
3: How to Use Homemade Heavy Cream
Whip It for Desserts (Ice Cream, Mousse)
Whipping homemade heavy cream into airy, pillowy peaks is the secret to restaurant-quality desserts that impress without the fuss. Whether you’re using dairy-based cream or a vegan cashew blend, mastering this technique opens the door to decadent treats like mousse, ice cream, and beyond. Here’s how to nail it every time:

Best Desserts to Showcase Whipped Cream
- Classic Chocolate Mousse:
- Fold whipped dairy or coconut cream into melted chocolate for a silky, light texture.
- Pro Tip: Add 1 tsp instant coffee to enhance the chocolate flavor.
- No-Churn Ice Cream:
- Blend whipped cream with sweetened condensed milk (or coconut cream + maple syrup) and freeze.
- Flavor Twist: Swirl in crushed cookies, fruit puree, or caramel.
- Berry Parfaits:
- Layer whipped cream with fresh berries and granola for a 5-minute fancy dessert.
- Vegan Whipped Toppings:
- Use chilled coconut cream or cashew cream for dairy-free pies or hot cocoa.
How to Whip Heavy Cream Perfectly
- Chill Everything: Bowl, beaters, and cream (30+ minutes in the fridge). Cold = faster whipping.
- Sweeten & Stabilize:
- Add 1–2 tbsp powdered sugar (dissolves better than granulated) + ½ tsp vanilla.
- For stability, mix in 1 tsp cornstarch or ½ tsp cream of tartar before whipping.
- Watch for Stiff Peaks: Stop whipping when peaks hold their shape (over-whipping = butter!).
Troubleshooting Whipped Cream
- Too Runny? Chill longer or add 1 tbsp cornstarch slurry (1 tsp starch + 1 tsp water).
- Vegan Cream Won’t Whip? Ensure coconut milk is full-fat and chilled overnight.
- Flat Peaks? Whip by hand for more control (or use a hand mixer on medium speed).
Thicken Soups and Sauces (Alfredo, Bisque)
Homemade heavy cream is a secret weapon for transforming broths and sauces into velvety, restaurant-worthy masterpieces. Unlike store-bought cream, DIY versions let you adjust thickness, fat content, and flavor to perfectly complement dishes like creamy Alfredo pasta, luxurious lobster bisque, or dairy-free mushroom gravy. Here’s how to use your homemade cream like a pro:
Why Heavy Cream Works
- Rich Texture: The high fat content (or plant-based fats) emulsifies liquids, creating a smooth, silky mouthfeel.
- Neutral Flavor: Lets herbs, spices, and savory ingredients shine without overpowering them.
- Heat Stability: Blends seamlessly into hot dishes without curdling (if added correctly!).
Step-by-Step Techniques
- Creamy Alfredo Sauce:
- Sauté minced garlic in butter, then stir in 1 cup homemade dairy or cashew cream.
- Simmer on low heat, then mix with grated Parmesan (or nutritional yeast for vegan).
- Pro Tip: Add a splash of pasta water to help the sauce cling to noodles.
- Silky Seafood Bisque:
- Blend cooked shellfish (or mushrooms for vegan) with ½ cup coconut cream + 1 cup broth.
- Simmer with a pinch of saffron or smoked paprika for depth.
- Dairy-Free Mushroom Gravy:
- Whisk ¼ cup cashew cream into sautéed mushrooms and vegetable broth.
- Thicken with 1 tsp cornstarch slurry for a glossy finish.
Avoid Curdling: 3 Golden Rules
- Temper the Cream: Gradually add hot liquid to the cream (not vice versa) while whisking.
- Low Heat Only: Never boil cream-based sauces—simmer gently.
- Acid Alert: Add lemon juice or wine after incorporating cream to prevent separation.
Non-Dairy Alternatives
- Coconut Cream: Ideal for curries or Thai-inspired soups (adds mild sweetness).
- Cashew Cream: Neutral flavor for creamy tomato bisque or vegan chowder.
- Butter + Milk Mix: Perfect for classic béchamel or cheesy casseroles.
Bake Flaky Pastries or Custards
Homemade heavy cream is the unsung hero of baking, adding moisture, fat, and richness to everything from buttery croissants to silky crème brûlée. Unlike water or milk, cream’s high fat content creates tender layers in pastries and a luxuriously smooth texture in custards—and with DIY cream, you control the quality and flavor. Here’s how to elevate your baking game:
Why Heavy Cream Works Magic
- Flaky Pastries: The fat in cream coats flour particles, inhibiting gluten formation for melt-in-your-mouth layers.
- Silky Custards: Cream’s fat and proteins emulsify eggs and sugar, preventing graininess in desserts like pots de crème or flan.
- Golden Crusts: Brushing cream (instead of egg wash) on pie dough or scones adds a rich, glossy finish.
Top Recipes to Try
- Buttermilk Scones:
- Replace buttermilk with homemade dairy cream + 1 tbsp lemon juice for extra-tender scones.
- Pro Tip: Freeze grated butter into the dough for flakier layers.
- French Chocolate Croissants:
- Use chilled dairy cream in laminated dough for a crisp, airy texture.
- Vanilla Custard Tarts:
- Whisk ½ cup cashew cream (vegan) or dairy cream into egg yolks and sugar for a velvety filling.
- Quiche Lorraine:
- Swap milk with DIY cream for a richer, creamier quiche.
Step-by-Step Tips for Success
- For Pastries:
- Keep cream ice-cold when making dough (like pie crusts or biscuits) to prevent melting fat.
- Brush unbaked pastries with cream for a golden, glossy crust (no egg wash needed!).
- For Custards:
- Temper cream with eggs slowly: Pour warm cream into eggs in a thin stream while whisking.
- Bake custards in a water bath at 325°F (163°C) to avoid curdling.
Non-Dairy Baking Hacks
- Vegan Croissants: Use coconut cream in laminated dough (add 1 tsp vinegar for tang).
- Dairy-Free Custards: Blend cashew cream with cornstarch and agar-agar for a firm, sliceable texture.
- Keto-Friendly Crusts: Mix almond flour with chilled coconut cream for a low-carb pie base.
Troubleshooting Common Issues
- Soggy Bottom Crust? Pre-bake crusts for 10 minutes before adding custard.
- Custard Cracks? Avoid overbaking—remove from oven when edges are set but center jiggles slightly.
- Dense Pastries? Don’t overwork dough; fold gently to preserve layers.
Add Richness to Keto/Vegan Coffee Creamer
Say goodbye to bland, sugary coffee creamers! Homemade heavy cream lets you transform your morning brew into a decadent, diet-friendly treat—whether you’re keto, vegan, or just craving a luxe caffeine upgrade. Store-bought creamers often pack hidden carbs, artificial sweeteners, or dairy, but with DIY methods, you control the flavor, fat, and freshness.
Why Homemade Creamer Wins
- Keto-Friendly: Boost fat content with coconut oil or MCT oil (zero carbs!).
- Vegan: Skip dairy with cashew or coconut cream bases.
- No Additives: Avoid carrageenan, gums, or refined sugars.
Simple Recipes to Try
- Keto Bulletproof Creamer
- Blend ¼ cup coconut cream + 1 tbsp melted butter + 1 tsp MCT oil + 2 drops vanilla stevia.
- Pro Tip: Froth with a hand mixer for a latte-like foam.
- Vanilla Cashew Creamer (Vegan)
- Soak ½ cup cashews, blend with 1 cup water + 1 tsp vanilla + 1 pitted date (for sweetness).
- Strain for silky texture (optional).
Customize Your Creamer
- Flavors: Add cocoa powder, cinnamon, or pumpkin spice.
- Sweetness: Stir in monk fruit, erythritol (keto), or maple syrup (vegan).
- Texture: Adjust water for thicker “half-and-half” or lighter “milk” consistency.
Storage & Use
- Fridge: Keep in a sealed jar for 4–5 days. Shake well before use.
- Freeze: Pour into ice cube trays for single-serving “cream cubes” to drop into iced coffee.
Troubleshooting
- Separation? Blend creamer with ½ tsp sunflower lecithin (emulsifier) or reheat gently.
- Too Thick? Thin with unsweetened almond milk or black coffee.
- Grainy Vegan Creamer? Soak cashews longer (up to 24 hours) or strain through cheesecloth.
4: Storing Homemade Heavy Cream
Refrigeration: Keep in Airtight Jars for 3–5 Days
Proper refrigeration is key to preserving the freshness and safety of homemade heavy cream, especially since it lacks the stabilizers and preservatives found in store-bought versions. Whether you’ve made dairy-based cream, coconut milk cream, or cashew cream, storing it correctly ensures it stays ready to elevate your recipes. Here’s how to maximize shelf life and avoid spoilage:
FoodSafety.gov’s dairy storage tips (Validates fridge/freezer timelines for homemade cream)
Why Airtight Storage Matters
- Prevent Contamination: Airtight jars block odors from other foods (like onions or garlic) and stop bacteria from creeping in.
- Avoid Oxidation: Exposure to air can cause cream to develop a “stale” taste or grainy texture.
- Slow Separation: Non-dairy creams (e.g., coconut or cashew) tend to separate—airtight containers minimize this.
Step-by-Step Storage Guide
- Cool Completely: Let homemade cream reach room temperature before refrigerating (hot cream raises fridge temps, risking spoilage).
- Choose the Right Jar:
- Glass Jars: Ideal for dairy cream (easy to clean, non-porous).
- BPA-Free Plastic: Lightweight option for cashew or coconut cream.
- Size Matters: Use small jars to limit air exposure if storing small batches.
- Label & Date: Note the preparation date to track freshness.
Signs Your Cream Has Spoiled
- Smell: Sour, cheesy, or rancid odor (dairy) or fermented scent (non-dairy).
- Texture: Curdled, slimy, or mold spots.
- Taste: Sharp or “off” flavor (don’t risk it—toss if unsure!).
Tips to Extend Freshness
- Wipe Jar Edges: Clean the rim before sealing to prevent mold growth.
- Use Clean Utensils: Never dip fingers or dirty spoons into the jar.
- Layer Protection: Place a piece of plastic wrap directly on the cream’s surface before sealing (blocks air contact).
Troubleshooting Separation
- Dairy Cream: Whisk briefly to recombine.
- Coconut/Cashew Cream: Blend for 10 seconds or shake the jar vigorously.
- Stubborn Lumps: Strain through a fine-mesh sieve.
Cream-Specific Notes
- Dairy-Based Cream: Lasts 3–4 days (higher risk of bacterial growth).
- Coconut Cream: Stores 4–5 days (natural fats resist spoilage longer).
- Cashew Cream: Use within 3 days (nuts can turn bitter over time).
Freezing: Use Ice Cube Trays for Long-Term Storage
Freezing homemade heavy cream in ice cube trays is a genius hack for preserving freshness, reducing waste, and streamlining meal prep. Whether you’ve whipped up a large batch of dairy-based cream or plant-based alternatives, this method lets you grab exactly the amount you need—no thawing entire containers required. Here’s how to freeze like a pro:
Why Freeze in Ice Cubes?
- Portion Control: 1 cube ≈ 1–2 tbsp cream—perfect for single servings of coffee, sauces, or soups.
- Prevent Waste: Use only what you need, saving leftovers for future recipes.
- Convenience: Drop frozen cubes directly into hot dishes (no thawing needed!).
Step-by-Step Freezing Guide
- Cool Completely: Let freshly made cream reach room temperature.
- Pour into Trays: Use silicone ice cube trays (easy pop-out!) or BPA-free plastic.
- Dairy cream: Fill each cavity ¾ full (it expands slightly).
- Coconut/cashew cream: Fill to the top.
- Freeze Solid: 4–6 hours or overnight.
- Transfer to Bags: Pop out cubes and store in labeled freezer bags (include date and type, e.g., “Cashew Cream – 05/2024”).
Thawing & Using Frozen Cream
- For Cooking: Toss frozen cubes directly into simmering soups, curries, or pasta sauces.
- For Baking/Whipping: Thaw overnight in the fridge, then re-blend (non-dairy creams may separate—quick whisk fixes this!).
- For Coffee: Drop a cube into your mug—it melts as you stir!
Best Creams to Freeze
- Dairy-Based Cream: Works best for cooked dishes (may lose some whippability after thawing).
- Coconut Cream: Retains texture—ideal for creamy smoothies or vegan desserts.
- Cashew Cream: Perfect for sauces or soups (avoid freezing for whipped toppings).
Storage Tips & Lifespan
- Shelf Life: 2–3 months for optimal flavor (longer risks freezer burn).
- Avoid Odor Transfer: Double-wrap cubes in foil or use odor-proof bags.
- Label Clearly: Note “sweetened” or “savory” to avoid vanilla cream in your gravy!
Troubleshooting Frozen Cream
- Grainy Texture? Blend thawed cream with 1 tsp oil or butter to restore silkiness.
- Ice Crystals? Wrap trays in plastic wrap before freezing to block moisture.
- Stuck Cubes? Run tray under warm water for 5 seconds to loosen.
Reviving Separated Cream: Re-Blend with a Whisk
Separation is a common issue with homemade creams, especially non-dairy versions like coconut or cashew. But don’t panic—this doesn’t mean your cream is ruined! With a little know-how, you can easily revive it and restore its smooth, velvety texture. Here’s how to troubleshoot and fix separated cream for any recipe:
Why Cream Separates
- Dairy Cream: Fat rises when stored, leaving watery liquid beneath.
- Non-Dairy Cream: Natural separation occurs in coconut milk (fat vs. liquid) or cashew cream (soaking/emulsifying issues).
- Temperature Shifts: Sudden changes (e.g., freezing or overheating) break the emulsion.
Step-by-Step Fixes
1. For Dairy-Based Cream:
- Whisk Vigorously: Use a balloon whisk or fork to blend the fat and liquid back together.
- Re-Emulsify with Heat: Gently warm the cream in a saucepan (low heat) while whisking until unified.
- Add a Stabilizer: Mix in 1 tsp cornstarch slurry (1:1 cornstarch + water) to prevent future separation.
2. For Coconut/Cashew Cream:
- Blender Rescue: Toss separated cream into a blender for 10–20 seconds. Add 1 tsp melted coconut oil (for coconut cream) or 1 tbsp water (for cashew cream) to help rebind.
- Strain for Smoothness: Pour through a fine-mesh sieve to remove grainy bits.
3. For Whipped Cream That Deflates:
- Re-whip with 1 tsp powdered sugar or ½ tsp cream of tartar (dairy) or 1 tsp aquafaba (vegan).
Tools to Save the Day
- Immersion Blender: Quick fix for soups/sauces—blend directly in the pot.
- Jar Method: Shake separated cream in a sealed jar for 30 seconds (works for coconut milk!).
- Lecithin Hack: Add ¼ tsp sunflower lecithin (a natural emulsifier) while blending.
Prevent Separation Next Time
- Store Properly: Keep cream in airtight jars and shake before use.
- Avoid Temperature Swings: Let chilled cream sit at room temp for 10 minutes before using.
- Emulsify Thoroughly: Blend non-dairy creams for at least 2–3 minutes to bind fats and liquids.
When to Toss It
If cream smells sour (dairy) or rancid (non-dairy), develops mold, or tastes off, discard it. Separation alone isn’t a safety issue—trust your senses!
5: FAQs About DIY Heavy Cream
“Can I Use Almond Milk Instead of Coconut?”
Yes, you can swap coconut milk with almond milk in homemade heavy cream recipes—but with a few tweaks! Almond milk is lower in fat and thinner than coconut milk, so it needs a boost to mimic the richness of heavy cream. Here’s how to make it work, plus tips to avoid pitfalls:
How to Substitute Almond Milk
- Add Fat:
- Mix 1 cup unsweetened almond milk with 2–3 tbsp neutral oil (like avocado or light olive oil) or melted vegan butter.
- Why? Heavy cream is 36–40% fat—almond milk has just 1–3%. Adding fat bridges the gap.
- Thicken It:
- Whisk in 1 tbsp cornstarch, arrowroot, or tapioca starch (dissolved in 1 tbsp cold water). Heat gently until thickened.
- Blend Smooth:
- Use a blender to emulsify the oil and almond milk fully (30 seconds).
Best Uses for Almond Milk Cream
- Coffee Creamer: Adds mild nutty flavor without overpowering.
- Creamy Soups/Sauces: Perfect for vegan mushroom soup or dairy-free béchamel.
- Baking: Works in cakes, muffins, or custards where texture is forgiving.
Limitations to Know
- Won’t Whip: Too low in fat to hold stiff peaks—opt for coconut or cashew cream for desserts.
- Flavor Impact: Almond milk’s subtle nuttiness may clash with delicate recipes (e.g., vanilla custard).
- Separation Risk: Shake or re-blend before each use.
“Why Does My Cream Taste Grainy?”
A grainy texture in homemade cream can be frustrating, but it’s almost always fixable! Graininess typically stems from incomplete emulsification (fat and liquid not fully blended) or undissolved solids (like unsoftened nuts or starches). Here’s how to diagnose and rescue your cream, whether it’s dairy-based, coconut, or cashew:
Common Causes & Fixes
- Cashew Cream:
- Cause: Cashews weren’t soaked long enough or blended thoroughly.
- Fix:
- Soak raw cashews in boiling water for 20–30 minutes (or overnight in cold water).
- Blend for 3–5 minutes in a high-speed blender until ultra-smooth.
- Strain through a nut milk bag or fine sieve to catch any gritty bits.
- Coconut + Starch Cream:
- Cause: Cornstarch or arrowroot clumped during mixing.
- Fix:
- Always make a slurry (mix starch with cold water first) before adding to coconut milk.
- Heat the mixture slowly while whisking constantly.
- Dairy Butter + Milk Cream:
- Cause: Butter solidified into tiny flecks instead of emulsifying.
- Fix:
- Melt butter completely and let it cool slightly before mixing with milk.
- Use a blender instead of a whisk for smoother results.
Tools Matter!
- Low-Powered Blender? Blend in shorter bursts, scrape sides often, and add 1–2 tbsp extra liquid to help movement.
- No Strainer? Let cashew cream sit for 10 minutes—the grit will sink. Spoon off the top layer.
Salvaging Grainy Cream
- For Sauces/Soups: Blend with an immersion blender or strain before using.
- For Baking: Bake it anyway! Graininess often disappears in cakes or custards.
- For Coffee: Stir vigorously—the heat can help dissolve tiny particles.
Prevent Graininess Next Time
- Soak Nuts Overnight: Especially for cashews or almonds.
- Sift Starches: Remove lumps before mixing.
- Warm Ingredients: Cold butter or coconut milk hardens fats, causing separation.
“Is Homemade Cream Keto-Friendly?”
Yes, homemade cream can absolutely be keto-friendly—if you choose the right ingredients! Traditional heavy cream is naturally low in carbs (just 0.4g net carbs per tbsp), making it a keto staple. But store-bought versions sometimes contain additives like carrageenan or sugar, which can derail your macros. The beauty of DIY cream is that you control the fat-to-carb ratio. Here’s how to tailor it for keto success:
Keto-Friendly Methods
- Dairy-Based Cream (Butter + Heavy Cream/Milk):
- Use grass-fed butter (higher in healthy fats) and unsweetened almond milk (1g net carbs/cup) instead of regular milk.
- Macros: ~0.5g net carbs per tbsp.
- Coconut Cream:
- Opt for full-fat canned coconut milk (3g net carbs/cup) and skip thickeners like cornstarch.
- Boost Fat: Add 1 tbsp MCT oil or coconut oil per cup for extra ketosis fuel.
- Macadamia Nut Cream (Lower-Carb Than Cashews):
- Blend soaked macadamia nuts (1.5g net carbs/oz) with water for a nutty, keto-safe base.
Avoid These Pitfalls
- Sweeteners: Skip honey, maple syrup, or dates—use stevia, erythritol, or monk fruit instead.
- High-Carb Thickeners: Replace cornstarch with xanthan gum (0g net carbs) or chia seeds.
- Nut Milks: Unsweetened almond or macadamia milk work best—oat or rice milk are carb-heavy.
Best Keto Uses
- Bulletproof Coffee: Blend 2 tbsp coconut cream + 1 tbsp butter + 1 tsp MCT oil.
- Fat Bombs: Mix cocoa powder, keto sweetener, and coconut cream for frozen treats.
- Creamy Sauces: Whip up Alfredo or cheese sauce with dairy-based cream and Parmesan.
Non-Keto Methods to Avoid
- Cashew Cream: Cashews have 7g net carbs/oz—too high for strict keto.
- Sweetened Plant Milks: Flavored almond or coconut milk often has added sugar.
Conclusion :
Mastering how to make heavy cream at home isn’t just a kitchen hack—it’s a gateway to culinary freedom! With three simple methods (dairy-based, non-dairy coconut cream, and vegan cashew cream), you’re equipped to tackle any recipe, whether you’re whipping up a decadent dessert, thickening a savory sauce, or crafting a keto-friendly coffee creamer. No more last-minute grocery runs, pricey store-bought cartons, or compromises on dietary needs.
By controlling ingredients, you can tailor your cream to be dairy-free, vegan, or low-carb while slashing food waste and costs. And if your cream separates or feels grainy? A quick whisk or blend restores its silky perfection.
So grab that butter, coconut milk, or cashews, and transform your kitchen into a creamery ready for any culinary adventure. Whether you’re baking, cooking, or simply elevating your morning coffee, homemade heavy cream proves that a little DIY magic goes a long way. Happy whipping!